Ich hab mal letztes Jahr auf BB zusammengefasst, was ich selber getestet hab an meinem + an einem E31 getestet und auch was andere geschrieben haben, auch unterschiedlich M1.2 und M1.7, am E31 mit 1.7 war nur das Zuendkabel nicht richtig drauf auf Kerze 12 und es gab Probleme.:
Subject: it might start, but will go out immy Posted on: 2013-11-17
at least that was the result of our problem solving yesterday on a E31 850 with M1.7 352 Motronic, M1.2 might be different.
The problem:
engine always started for some seconds and then stopped. After checking a lot of things for the 'usual' faults, testing fuel pumps, distributors and rotors, removing fuel pumps + testing them (before we tested each fuel pump separately by giving power to the fuses with ignition off), even replacing one, testing fuel pressure etc., we found out that the ignition wire for plug no. 12 was not properly installed/attached, plugged that in and the engine was starting and did not stop. So the donut of #12 did not get any signal because the spark plug #12 did not spark.Also for me a new experience. Always something new to find on these cars '-)
comment by Johan: "AFAIK the 6 and 12 are used as an indication to sequence the injectors i.e. fire them in groups of 3. If the connection to the sensor is not there or the plug isn't firing the engine should still start, but the 1-6 and 7-12 open simultaneously instead of in groups of 3."
That is what I believed also till yesterday.
Other old - partly confusing- info collected from the net:
Just read a post from RF E31 by a rather experienced forum member Mark in SBA . He showed a service diagram for DME 1.7 indicating that:
"If plug lead 6 or 12 (the ones with the inductive pickup donuts on them) are disconnected or short, a protection circuit embedded within the Motronic will severely clip the duty cycle of the injectors for that side to protect the catalysts from being drenched in raw, unburned fuel."
Called the "Catalytic converter protection function", I wonder if my DME 1.2 may not have that function, thus I was able to pull off one or both Cam-Position-sensor plugs and the M70 can still be started. That may explain the contradicting observations. Anyone with Motronics 1.2 like to try an experiment (by pulling off a Cam-position sensor plug from front center of engine and see if engine can start?)
------------------
Subject: results of test (simple)
Author: hairwithit Posted on: 2009-05-16
Shogun's 1988/89 750iL
well we disconnected the passenger side cylinder ID plug at front of engine.
key to position 2, EML light comes on, after a few seconds off.
engine start, runs on only 6 cylinders and rough -- NO EML or other warning!
Accelerator used, still no warning.
Reconnected and restart -- all 12 running, no warning.
Disconnected both cylinder ID plugs.
same result -- engine runs but only 6.
Used Peake and found no fault codes related to engine --ummm
Reconnected and runs like a champ. Still no warnings.
I thought the engine would stop with both disconnected but no true.
Over to you guys
----------------------
Tim Meek, U.K. board, Author: shogun : 2009-05-16......
comments on this as following: "The sensors on ignition leads 6 and 12 are not there to disrupt the injector duration, they are there to identify the camshaft position and are a direct forerunner of the camshaft sensor. The sensors are called 'cylinder identification sensors' and detect when cylinders 6 or 12 fire, they do not measure the primary circuit, how could they, they are stuck on the ignition leads! This is not part of the EML system, any failure will not light the EML indicator. It is a basic ECU input that is found on straight-6's that do not have EML as well as EML variants of both the M30 and M70.
Without the cylinder identification sensors, the ECU's do not know which of the two unique revolutions the crankshaft is on. This does not matter to the ignition as the spark is directed to the correct cylinder by the distributor. It does matter to the injection circuits which should fire every two crankshaft revolutions or every one camshaft revolution.
During cranking the only reference signal is the crankshaft sensor and 'double injection' is maintained until the ignition from cylinders 6 and 12 are detected. From this point on the ECU is aware of the correct camshaft position and can fire the injectors every two crankshaft revolutions. If the cylinder identification sensors fail to detect ignition pulses then the injectors continue to fire every crankshaft revolution but the injector duration is reduced to prevent damage to the catalytic converters."
----------------------
Subject: O2 Sensor Termal Shock recall...M70 engines
Posted on: 2009-08-26
I just got on my computer an updated copy of the TIS BMW software,in the engine alert for M70 engines there's one called "O2 Sensor termal shock" named:SI 110896164 released by BMW AG in 01/1997.
Symptom: Irregular idle and shaking when driving.
Cause: stop and go driving and short distances will cause water residues on the cat,a cold start can cause the failure of the O2 sensors caused the termal shock
Solution: O2 Sensor delayed heating with a relais...
Parts:
O2 Sensor 11781733628
Delayed heating relais 11781745829
Cables kit 12511745758
---------------------------------
here explained for Motronik 1.7 page 19
Catalytic converter protection
 http://www.e32-schrauber.de/bmw/date...me-1_7-eml.pdf
------------------------
catalytic converter protection
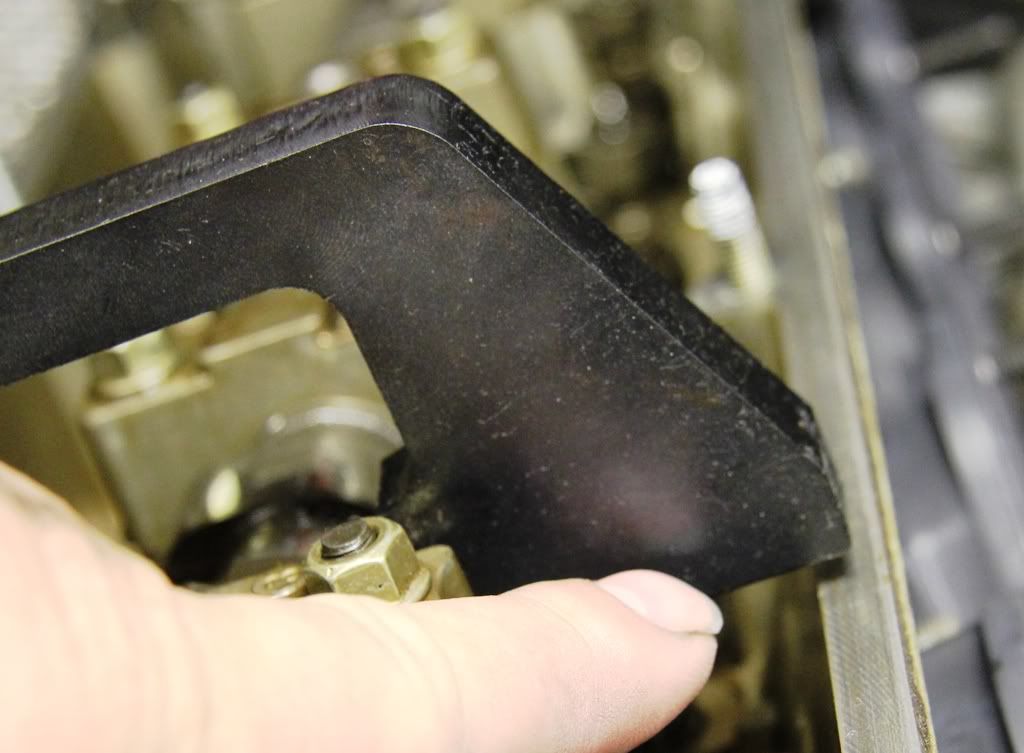
Catalytic Converter Protection M70 Photo by shogun_bucket | Photobucket
---------------------
comment on the German e31 forum from someone:
with the 1.7 it is the same as with 1.2:
no big change when removing the cylinder identification plug, engine runs a bit more rough but still contnues to run according to my test.
---------------------
So I am really confused now what works or not.
 kostenlos im Forum registrieren, weniger Werbung sehen, aktiv teilnehmen und weitere Vorteile nutzen! Diese Website nutzt Cookies. Bitte beachten Sie unsere


 Linear-Darstellung

